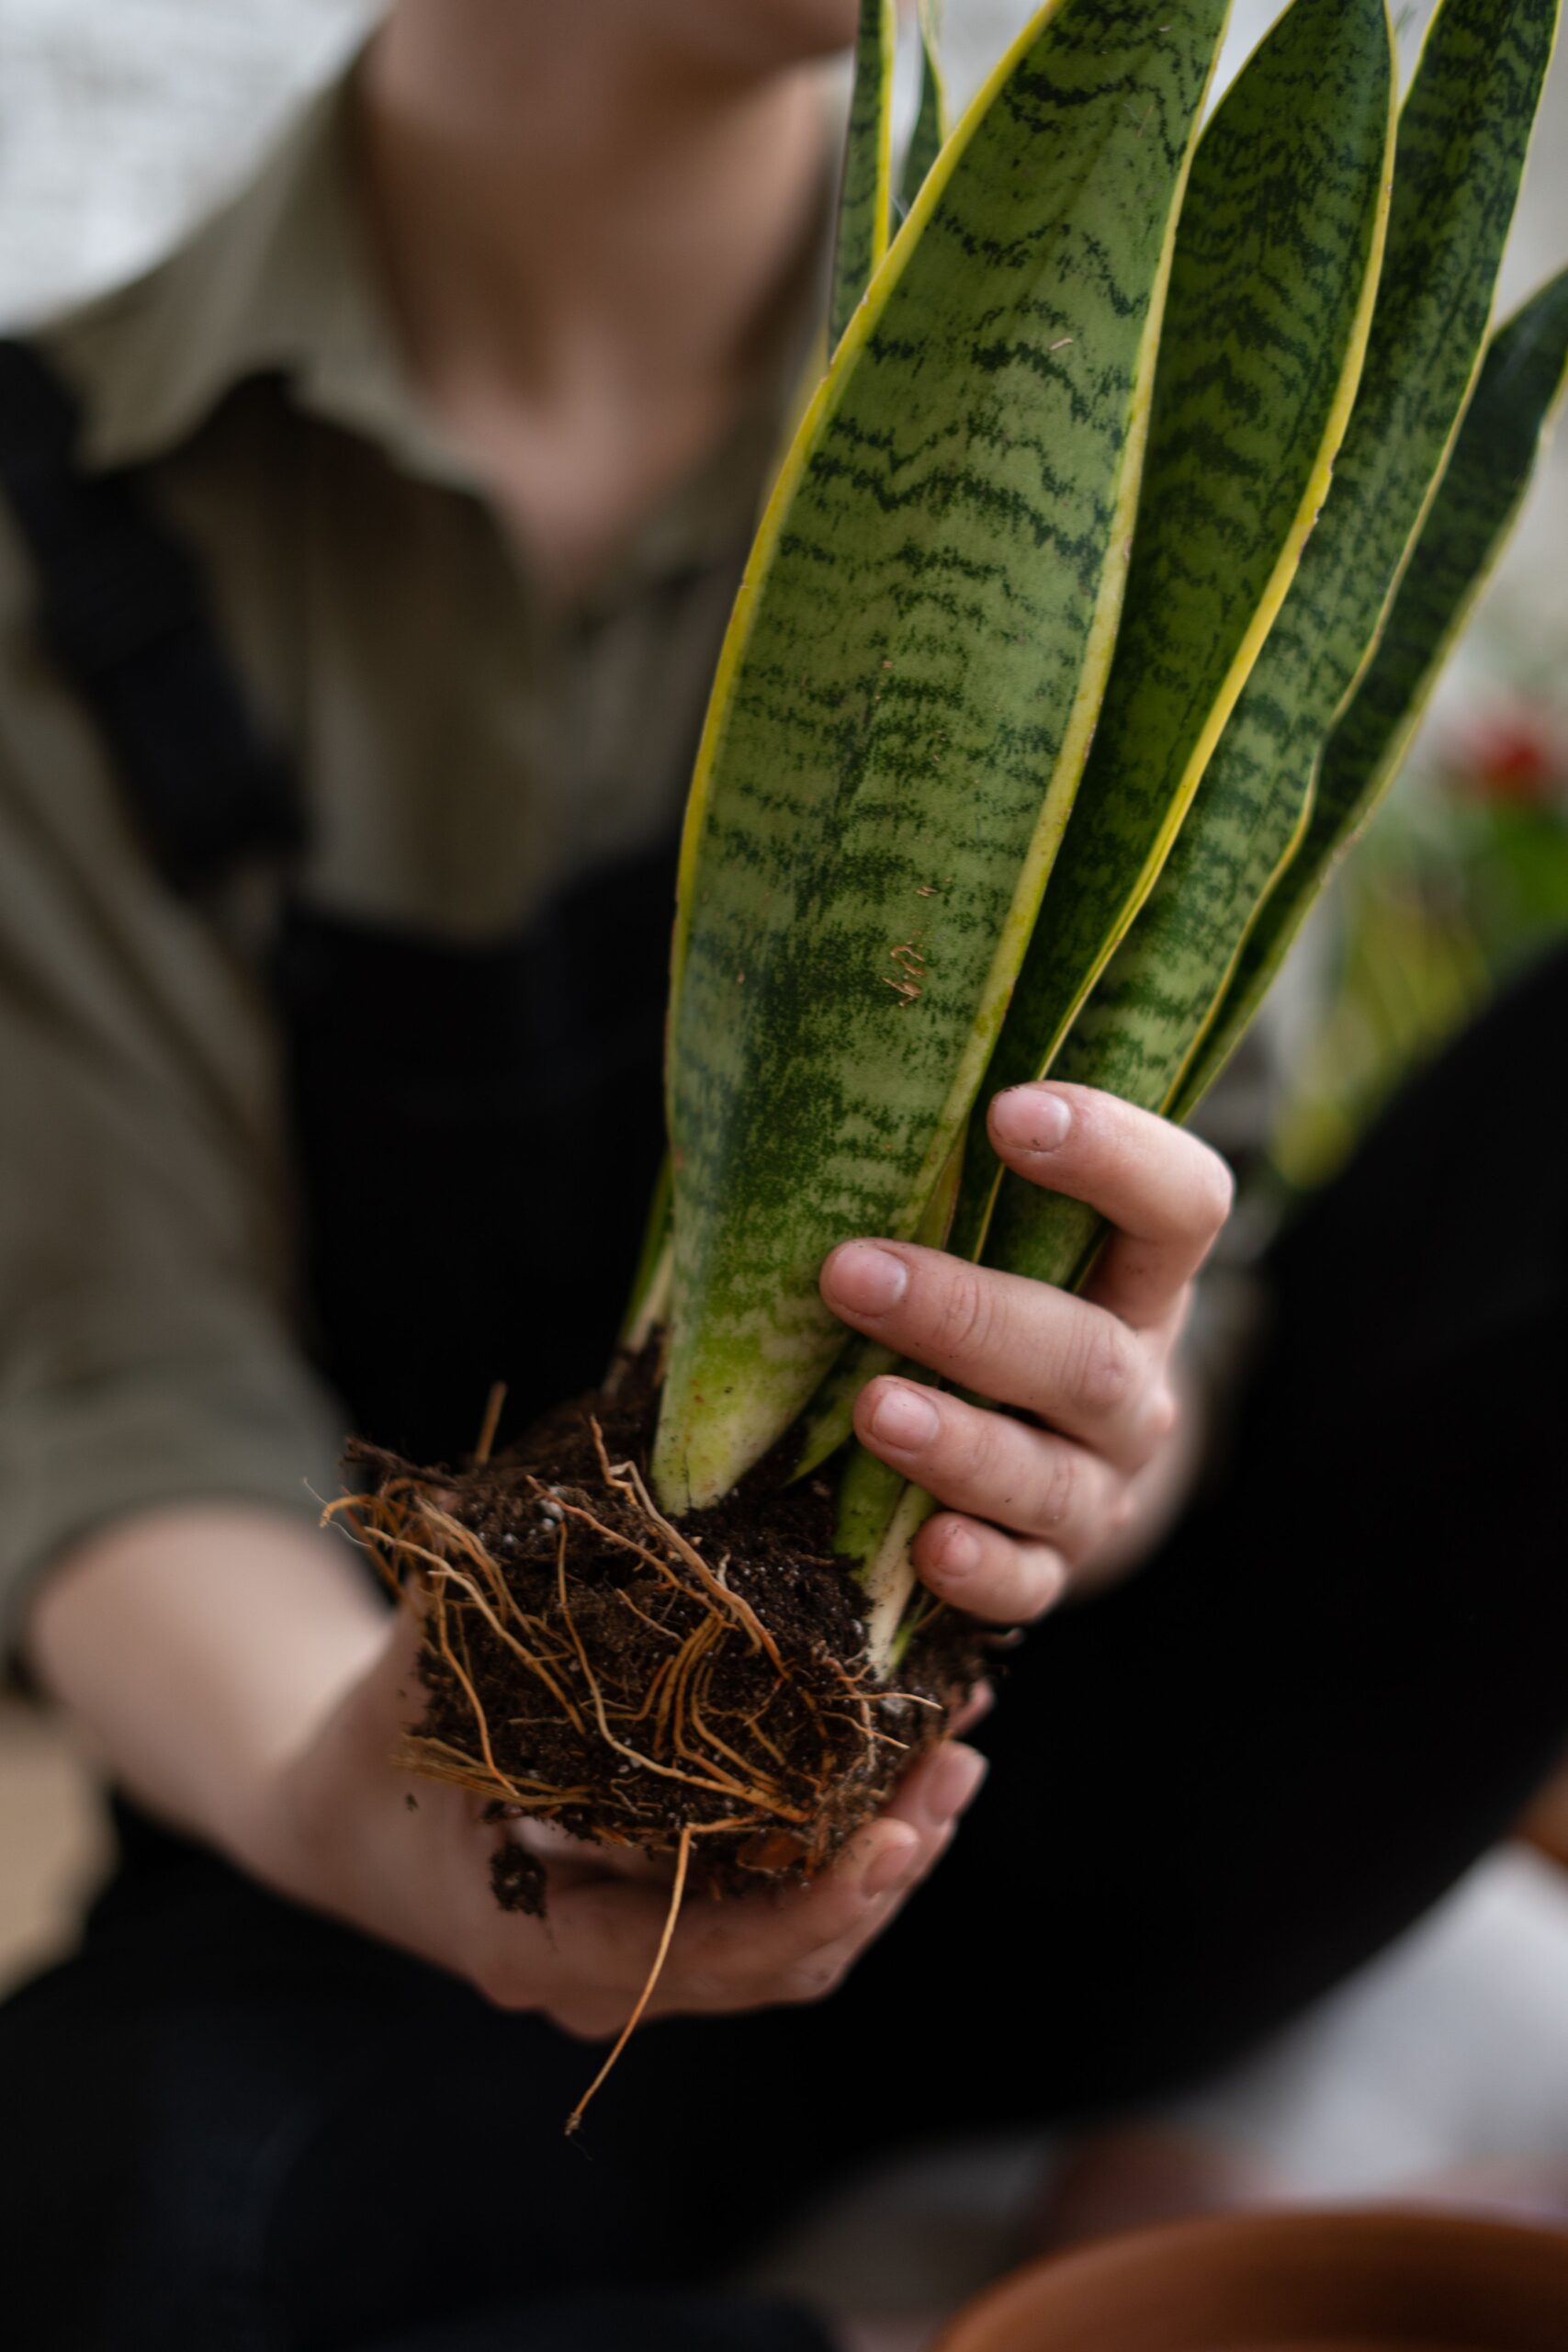
How to Repot a Snake Plant Step by Step (Complete Beginner’s Guide)
Focus Keyword: How to Repot a Snake Plant Step by Step
SEO Title: How to Repot a Snake Plant Step by Step (Complete Guide 2026)
Meta Description: Learn how to repot a snake plant step by step with this beginner-friendly guide. Discover when to repot, the best soil, pot size, aftercare tips, and common mistakes to avoid.
How to Repot a Snake Plant Step by Step
Snake plants (Dracaena trifasciata), formerly known as Sansevieria, are among the easiest houseplants to care for. Although they are slow-growing, they eventually outgrow their pots and need to be repotted. Repotting gives the roots more space, refreshes the soil, and helps your plant continue growing strong and healthy.
If you’ve never repotted a plant before, don’t worry. This step-by-step guide will show you exactly how to repot a snake plant safely, when to do it, and how to care for it afterward.
Why Repot a Snake Plant?
Repotting is an important part of long-term snake plant care. Over time, the roots fill the pot, nutrients in the soil become depleted, and drainage may worsen.
Benefits of repotting include:
- Gives roots more space to grow
- Refreshes old potting soil
- Improves drainage
- Prevents root rot
- Encourages healthy new growth
- Reduces nutrient deficiencies
- Helps stabilize top-heavy plants
Repotting every 2–3 years is usually enough for most indoor snake plants.
When Should You Repot a Snake Plant?
The best time to repot is during spring or early summer, when the plant is actively growing. Avoid repotting during winter unless it is absolutely necessary, as growth slows and recovery takes longer.
Signs Your Snake Plant Needs Repotting
Look for these signs:
- Roots growing through drainage holes
- Water draining too quickly
- Soil drying out unusually fast
- Cracked or bulging pot
- Plant becoming top-heavy
- Slow or stunted growth
- Roots circling tightly inside the pot
If you notice one or more of these signs, it’s time to move your snake plant to a new container.
Tools You’ll Need
Before you begin, gather the following supplies:
- A new pot with drainage holes
- Well-draining cactus or succulent soil
- Perlite or pumice (optional for better drainage)
- Gardening gloves
- Clean pruning shears or scissors
- Small trowel
- Watering can
Having everything ready makes the process quick and stress-free.
Choosing the Right Pot
Selecting the correct pot is just as important as choosing the right soil.
Best Pot Materials
- Terracotta
- Clay
- Ceramic with drainage holes
Terracotta pots are highly recommended because they absorb excess moisture and help prevent overwatering.
Pot Size
Choose a pot that is 1–2 inches larger than the current one.
Avoid oversized pots, as they hold excess moisture that can lead to root rot.
Best Soil for Repotting
Snake plants thrive in fast-draining soil.
Recommended Soil Mix
- 2 parts potting soil
- 1 part perlite
- 1 part coarse sand or pumice
You can also use a ready-made cactus or succulent potting mix.
Avoid heavy garden soil, which retains too much moisture.
Step-by-Step Guide to Repotting a Snake Plant
Step 1: Remove the Plant
Gently squeeze the sides of the pot if it’s plastic. Turn the pot on its side and carefully slide the plant out while supporting the base.
If the plant is stuck, tap the sides or run a knife around the inside edge of the pot.
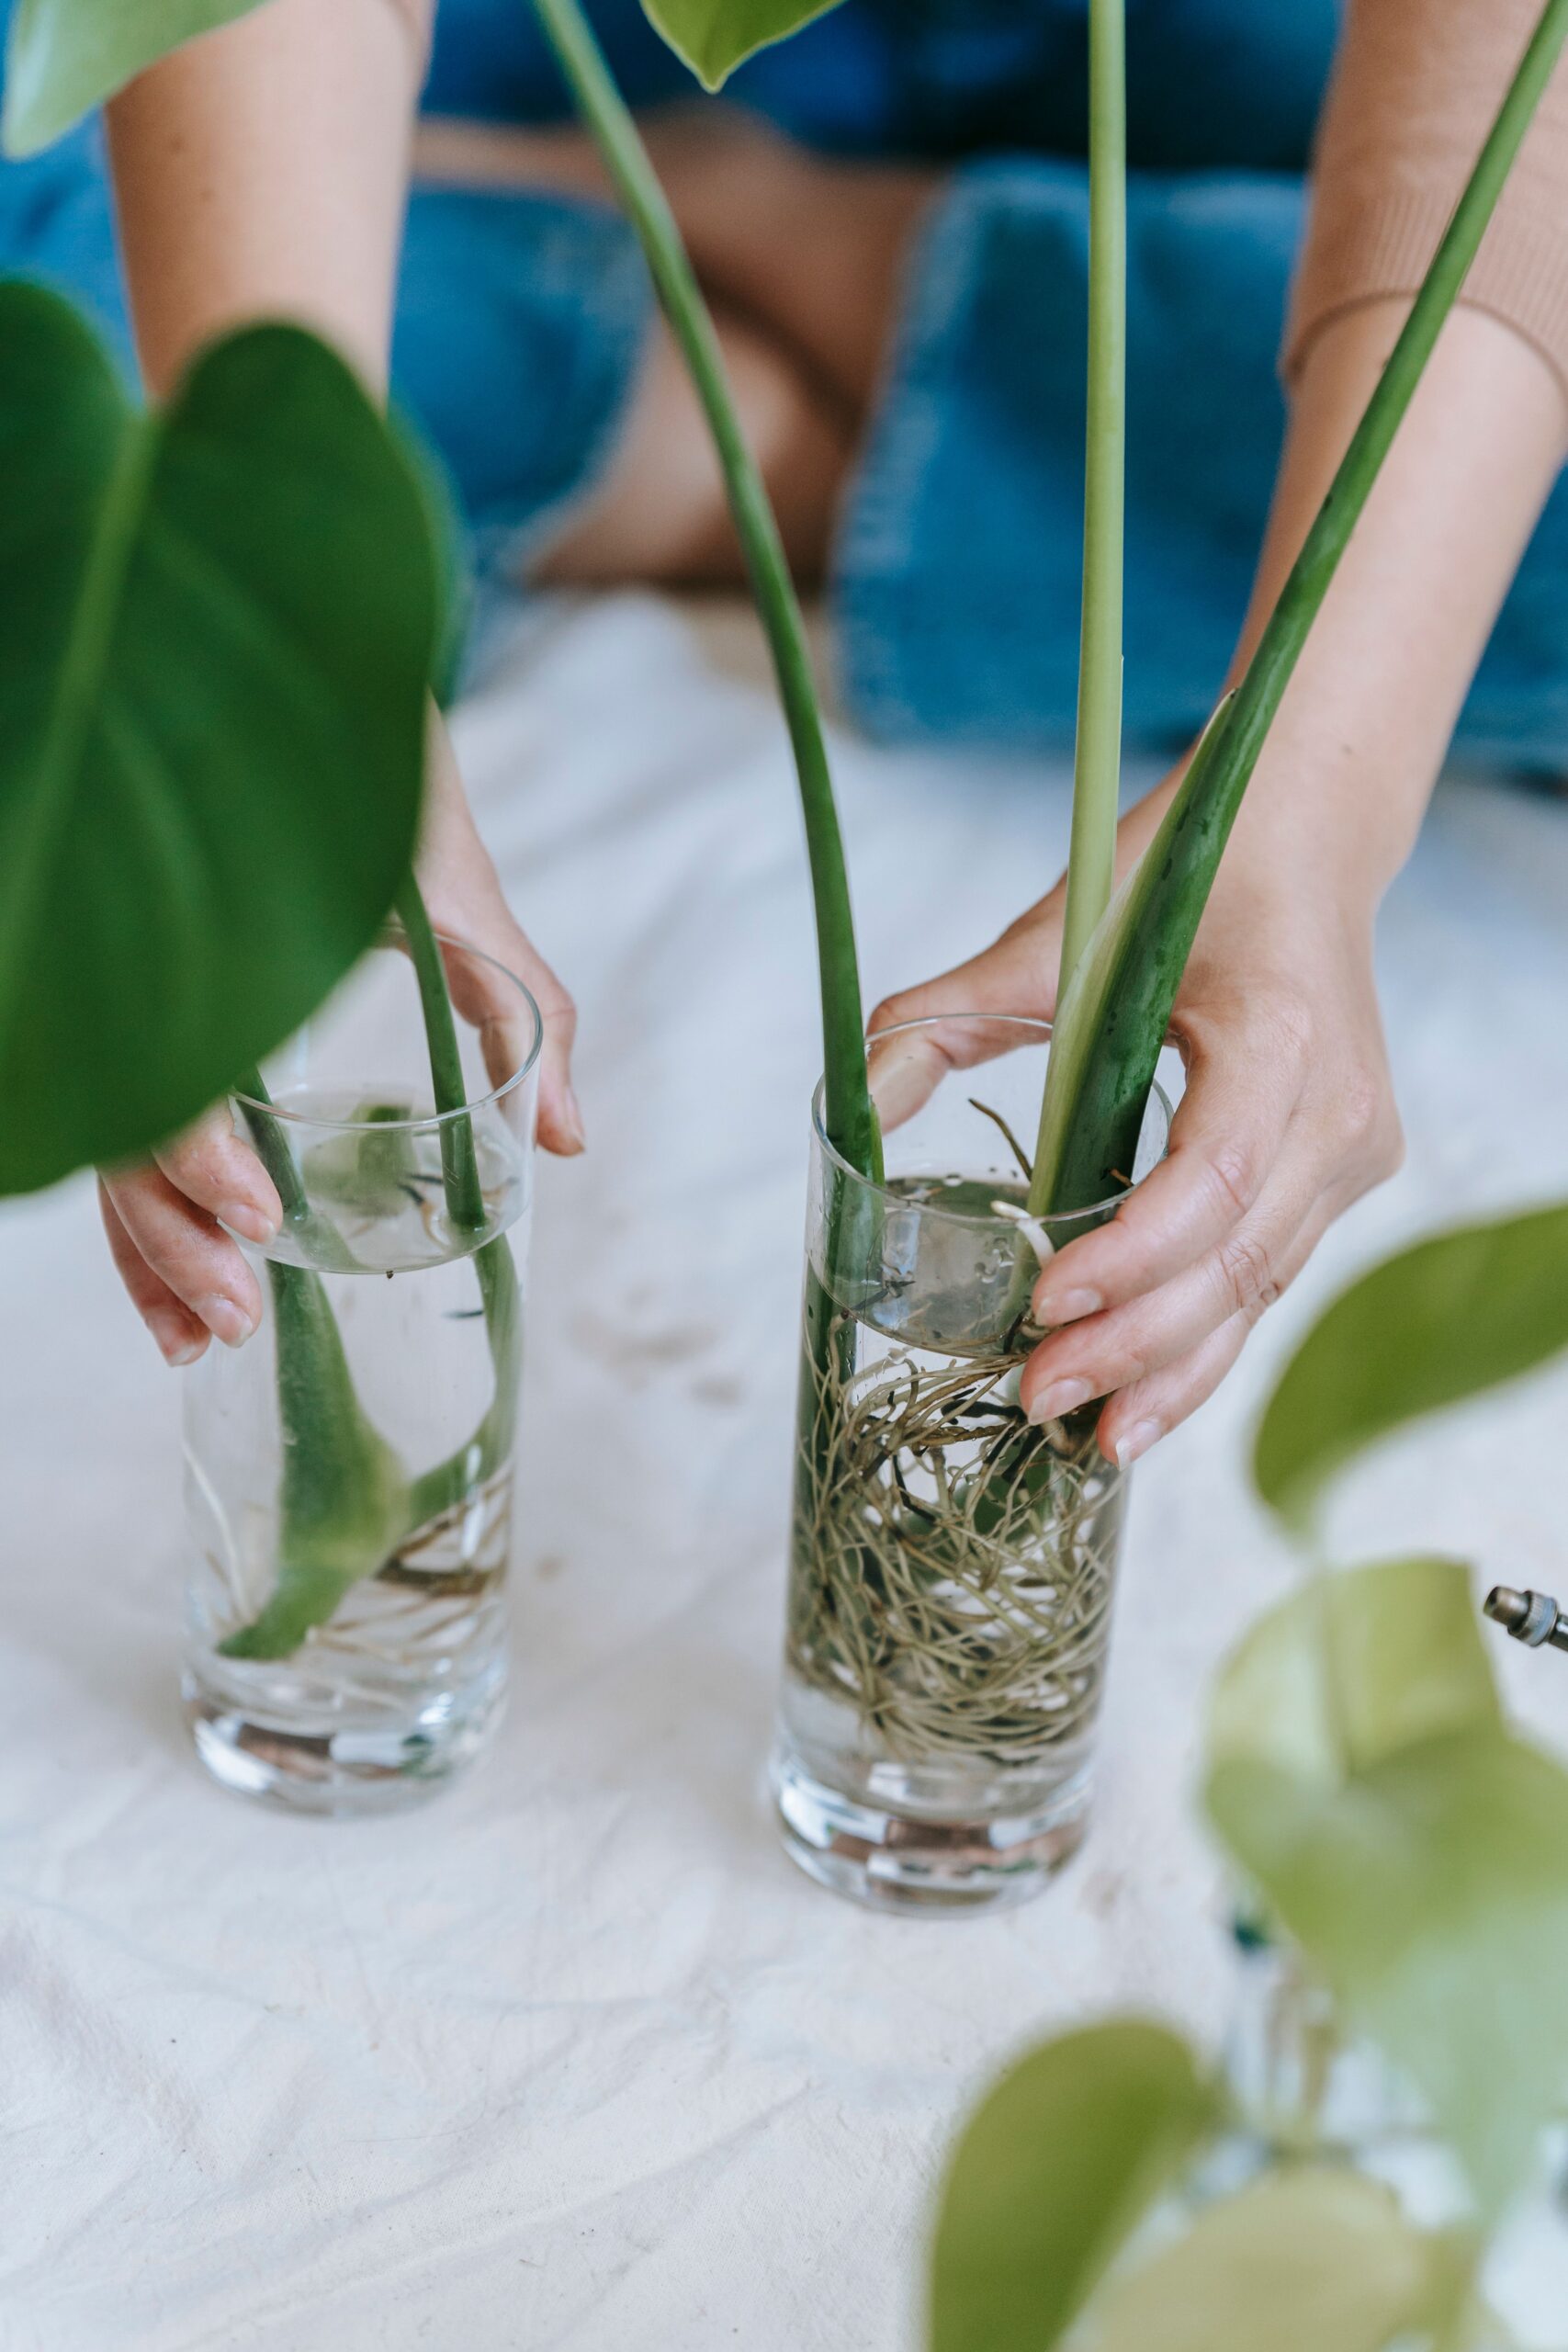
Step 2: Inspect the Roots
Shake off as much old soil as possible.
Healthy roots are:
- White
- Firm
- Thick
Remove any roots that are:
- Black
- Brown
- Mushy
- Soft
- Rotten
Use clean, sterilized scissors to trim damaged roots.
Step 3: Prepare the New Pot
Place a layer of fresh soil in the bottom of the new pot.
Do not add rocks or gravel to the bottom, as this can reduce drainage rather than improve it.
Step 4: Position the Plant
Place the snake plant in the center of the new pot.
The base of the plant should sit at the same depth as it was in the previous container.
Avoid planting it too deeply.
Step 5: Fill with Fresh Soil
Add fresh soil around the roots.
Gently press the soil to remove large air pockets, but avoid packing it too tightly.
Healthy roots need oxygen to grow.
Step 6: Wait Before Watering
This step surprises many beginners.
Instead of watering immediately, wait 3–5 days before watering.
This gives any damaged roots time to heal and reduces the risk of root rot.
Aftercare Tips
Proper aftercare helps your snake plant recover quickly.
Light
Place the plant in bright, indirect sunlight.
Avoid harsh afternoon sun for the first week.
Watering
Resume watering only after the soil has dried completely.
Fertilizer
Wait at least 4–6 weeks before fertilizing.
Fresh potting soil already contains nutrients.
Temperature
Keep the plant between 60°F and 85°F (16°C–29°C).
Avoid cold drafts and sudden temperature changes.
Common Repotting Mistakes
Many beginners accidentally stress their plants by making simple mistakes.
Avoid these:
- Using a pot that’s too large
- Choosing soil that retains too much water
- Watering immediately after repotting
- Using pots without drainage holes
- Damaging healthy roots
- Overpacking the soil
- Repotting during freezing weather
Taking your time during the process helps reduce transplant shock.
Can You Divide a Snake Plant While Repotting?
Yes. Repotting is the perfect time to divide mature plants.
How to Divide
- Remove the plant from the pot.
- Separate healthy root clumps with a clean knife.
- Ensure each section has roots and leaves.
- Plant each division into its own pot.
- Wait several days before watering.
Division is the fastest way to propagate a snake plant while preserving the characteristics of the parent plant.
Frequently Asked Questions
How often should I repot my snake plant?
Most snake plants need repotting every 2–3 years, depending on growth and pot size.
Should I water immediately after repotting?
No. Wait 3–5 days before watering to allow any damaged roots to heal.
What size pot should I use?
Choose a pot only 1–2 inches larger than the current one.
Can I reuse old soil?
It’s better to use fresh potting mix because old soil loses nutrients and becomes compacted over time.
Can I repot a snake plant in winter?
It’s possible, but spring and early summer are the best times because the plant is actively growing.
Final Thoughts
Learning how to repot a snake plant step by step is an essential skill for every plant owner. By choosing a well-draining soil mix, using a slightly larger pot with drainage holes, and following proper aftercare, you can keep your snake plant healthy and thriving for many years.
Repotting not only refreshes the growing environment but also encourages stronger roots, healthier foliage, and steady growth.
Internal Links
- https://allsnakeplante.com/complete-snake-plant-care-guide-for-beginners/
- https://allsnakeplante.com/best-soil-mix-for-snake-plants/
- https://allsnakeplante.com/how-often-to-water-a-snake-plant/
- https://allsnakeplante.com/snake-plant-light-requirements/
- https://allsnakeplante.com/snake-plant-propagation/
External Resources
SEO Meta Title
How to Repot a Snake Plant Step by Step (Complete Guide 2026)
SEO Meta Description
Learn how to repot a snake plant with this step-by-step guide. Discover the best soil, pot size, aftercare tips, and common mistakes to keep your snake plant healthy.
Suggested URL Slug
Suggested Image ALT Texts
- How to Repot a Snake Plant Step by Step
- Removing a Snake Plant from Its Pot
- Healthy Snake Plant Roots Before Repotting
- Repotting a Snake Plant with Fresh Soil
- Best Pot for a Snake Plant
- DIY Snake Plant Repotting Guide
- Snake Plant After Repotting
- Indoor Snake Plant Care After Repotting
SEO Keywords
- How to Repot a Snake Plant Step by Step
- Snake Plant Repotting Guide
- When to Repot a Snake Plant
- Best Pot for Snake Plants
- Snake Plant Root Care
- Repotting Indoor Snake Plants
- Snake Plant Soil Mix
- Beginner Snake Plant Care
- Snake Plant Aftercare
- Houseplant Repotting Guide